
The finished magnetic spice rack (and the mysterious microwave)
I like our kitchen in Carroll Gardens. There is a glass door to the garden, a little sash window beside the oven, two work surfaces, a good fridge, an oven that works, and just enough storage space. True, I'd rather have storage where the microwave is (can someone tell me what to use it for?), but that is a tiny niggle.
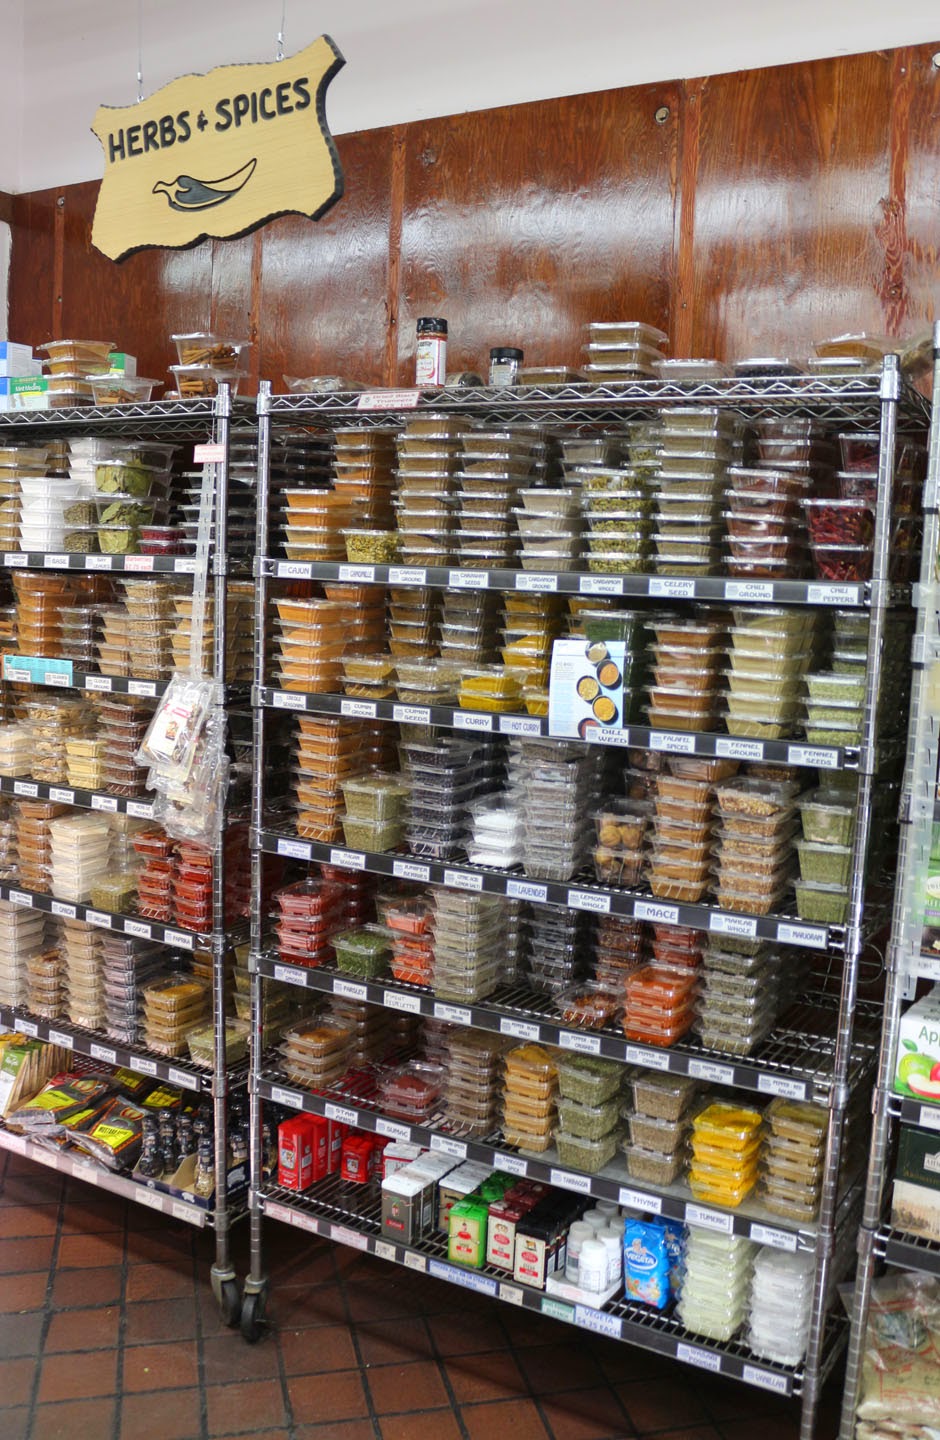
Spices at Sahadi's
The real problem was my spice collection. In Harlem the spices lived stacked on a lightweight wire shelf that stood on the floor beside a kitchen island, but we have no space for the island, here, and it is dismantled and stored. Before that, in Cobble Hill, they were hidden in a cupboard above the oven. Most of them were from Sahadi's, and stayed in their clear plastic containers, but some were irritatingly miscellaneous jars for the extra spices I make myself from foraged ingredients.

The old spice shelf
But in this new kitchen, despite the increased work space, the spices did not fit. They sat on their floor shelf on the wrong side of the kitchen counter in the living room, for weeks, while I pretended they weren't there (inbetween bursts of online searching for solutions). The Frenchman said nothing, and waited. He is good, that way.
I looked at the walls. The spices would have to go Up.
There were two wall spots in the kitchen - a wide one beside the sink, and a long narrow one between the stove and the door.
I searched for shelves that would fit either space. Nothing was quite right.
I had seen many articles and posts about magnetic spice racks, where a small magnet holds individual containers to a wall-mounted steel sheet. I found many links to ready-made magnetic spice racks, from Target and Ikea's el cheapo versions to nicer ones on Etsy. But none was right for me - too small (just 12?), or too heavy (small glass jars), or too small, too heavy and too few, or just poor product reviews.
I would have to make one.
For wall-mounting we had the added challenge of metal struts in the dry wall on one side (so not every spot was good to drill), and brick beneath the dry wall on the other (which we did not want to penetrate and damage). I started to focus on the idea of a stainless steel sheet light enough to be glued - rather than screwed - to the wall, but thick enough to attract magnets. I figured a large enough surface area would provide enough grip to keep the sheet in place, plus a host of lightweight containers.
But what did I need? The best starting point was The Kitchn's How To post (see link), but the post is now dated, and has key missing elements. The comments section, however, was very helpful and I investigated about every suggestion, from magnet size to glue for fixing magnets to type of steel.
It was time consuming.
But by the end I knew that I wanted very lightweight containers, and not glass (which I would have liked), because of support issues. I wanted clear lids so I could identify a spice by appearance, rather than by label. And I wanted 8oz containers because perversely they hold a 4oz volume of ground spices, which is how I buy and cook. And I understood more about which magnets hold what.
Eventually, I ordered each element, one by one, and finally put the whole thing together. It is not the cheapest spice rack ever. But in terms of satisfaction, I love it. I smile every time I see it.

The stainless steel sheet arrives
So, if you're interested in making one for yourself (save space! reduce clutter!), here's what I did and how, which I hope will spare you hours of research and head-scratching.
This was made for a collection of 40 spices.
Stainless Steel Sheet:
Important: you want lower grade, 430 stainless steel. Higher grade 304 is NOT magnetic.
My custom-cut sheet came from Stainless Steel Supply, in North Carolina.
Use this form to specify the details you need.
Mine were:
Size: 16" x 38"
Thickness: 20 gauge
Slightly rounded corners: ABCD Radius: 1/8" (the letters refer to the corners - the form above will clarify)
Cost: $59.63, plus shipping ($20)
An aside: Customer service at Stainless Steel Supply was superb. Scott Huggins answered an email within four minutes of my sending it (I panicked about the gauge and changed it from 16 to 20 within a few minutes of ordering - no problem). The sheet arrived impeccably packed and protected a week later.
Spice Containers:
From SKS Bottle and Packaging (which sells fascinating supplies - you can get lost, there).
48 containers, 3"W x 2.25"Deep - 8oz deep metal tin with clear lid
Cost: $50.40, plus shipping ($23)
I had to order more than I needed, but I figure some will be damaged in time and I might need extra containers as my wild spice collection grows.
The Magnets:
To hold my containers I chose 1/2" x 1/8" neodymium magnets from Apex Magnets
I bought 5 packs of 10 magnets, so 50 total
$44.95, plus shipping ($10)
If you are curious about how much a magnet can hold, that link is helpful.
And wow! Those magnets were weird - they arrived all stuck together with crisp warnings about the damage you could inflict upon yourself and others: in their massed form, don't let them near pacemakers, credit cards or metal. Or computers or electronics. Or steel pins in legs.
Total Cost of Supplies?
$207.98 - not cheap. But in this case, I bought happiness.

Then What?
1. I glued one magnet onto the base (inside) of each container, using a single drop of Super Glue. (They will stick of their own accord, but they tend to drag about, and I didn't want that.)
2. I sanded the wall lightly where I was going to place the stainless steel sheet, and then washed it and let it dry well.
3. I traced a pencil outline on the wall around the steel sheet as I held it in place, to know exactly where to apply the glue (do this with someone to help; I did it on my own, which is not ideal).
4. For gluing the sheet I used Gorilla Epoxy, which combines resin and hardener as you squeeze, and which you must stir together in a little tray. I brushed that onto the wall with the ice cream stick-like trowel provided, placed the steel sheet against the wall inside the stencil lines, and pushed with all my might. For 30 minutes.
It said: "Clamp time, 30 minutes."
I was the clamp. Sorry, no pictures.
This is where you need that friend.
That was the hardest part, and worse than any workout session (this is where in-wall screws would have been useful). I had to exert constant pressure on the sheet.
So for 30 minutes I leaned in plank position with my palms against the steel sheet, against that wall, till every muscle trembled. Thank god I do push ups.
It may have been overkill. But it stuck.

I let it cure for 24 hours. Next day I filled my containers with spices, and transferred them to their gleaming sheet, arranging them in an order that makes sense to me: by cuisine, by botanical family, by frequency of use... You will have your own method.

And there it is. When the Frenchman came home he found me grinning like a Cheshire Cat (with wobbly arms).
When I am cooking, they are right there next to me, and I take one from the wall, use what I need, twist the lid back on, and hum a little.
But I'm out of red pepper flakes.
Time to shop.
Book a Frigid Forage - New Year's Day
Size: 16" x 38"
Thickness: 20 gauge
Slightly rounded corners: ABCD Radius: 1/8" (the letters refer to the corners - the form above will clarify)
Cost: $59.63, plus shipping ($20)
An aside: Customer service at Stainless Steel Supply was superb. Scott Huggins answered an email within four minutes of my sending it (I panicked about the gauge and changed it from 16 to 20 within a few minutes of ordering - no problem). The sheet arrived impeccably packed and protected a week later.
Spice Containers:
From SKS Bottle and Packaging (which sells fascinating supplies - you can get lost, there).
48 containers, 3"W x 2.25"Deep - 8oz deep metal tin with clear lid
Cost: $50.40, plus shipping ($23)
I had to order more than I needed, but I figure some will be damaged in time and I might need extra containers as my wild spice collection grows.
The Magnets:
To hold my containers I chose 1/2" x 1/8" neodymium magnets from Apex Magnets
I bought 5 packs of 10 magnets, so 50 total
$44.95, plus shipping ($10)
If you are curious about how much a magnet can hold, that link is helpful.
And wow! Those magnets were weird - they arrived all stuck together with crisp warnings about the damage you could inflict upon yourself and others: in their massed form, don't let them near pacemakers, credit cards or metal. Or computers or electronics. Or steel pins in legs.
Total Cost of Supplies?
$207.98 - not cheap. But in this case, I bought happiness.

Magnets affixed with glue
Then What?
1. I glued one magnet onto the base (inside) of each container, using a single drop of Super Glue. (They will stick of their own accord, but they tend to drag about, and I didn't want that.)
2. I sanded the wall lightly where I was going to place the stainless steel sheet, and then washed it and let it dry well.
3. I traced a pencil outline on the wall around the steel sheet as I held it in place, to know exactly where to apply the glue (do this with someone to help; I did it on my own, which is not ideal).
4. For gluing the sheet I used Gorilla Epoxy, which combines resin and hardener as you squeeze, and which you must stir together in a little tray. I brushed that onto the wall with the ice cream stick-like trowel provided, placed the steel sheet against the wall inside the stencil lines, and pushed with all my might. For 30 minutes.
It said: "Clamp time, 30 minutes."
I was the clamp. Sorry, no pictures.
This is where you need that friend.
That was the hardest part, and worse than any workout session (this is where in-wall screws would have been useful). I had to exert constant pressure on the sheet.
So for 30 minutes I leaned in plank position with my palms against the steel sheet, against that wall, till every muscle trembled. Thank god I do push ups.
It may have been overkill. But it stuck.

I let it cure for 24 hours. Next day I filled my containers with spices, and transferred them to their gleaming sheet, arranging them in an order that makes sense to me: by cuisine, by botanical family, by frequency of use... You will have your own method.

Mostly filled
And there it is. When the Frenchman came home he found me grinning like a Cheshire Cat (with wobbly arms).
When I am cooking, they are right there next to me, and I take one from the wall, use what I need, twist the lid back on, and hum a little.
But I'm out of red pepper flakes.
Time to shop.
______________________________
I love it.
ReplyDeleteI bet this method would work for the side of our refrigerator! Sans steel sheet. Thanks for the jar and magnet source!
ReplyDeleteYes, they stick to fridge doors.
DeleteThese are where mine currently reside on the side of the fridge. Gruntal Ikea magnetic pots. They have been amazing to have after having a huge basket full of jars that had be unpacked everytime you needed something!
DeleteWhat to do with a microwave oven? I have been known to use mine for sterilising bandages! I wont tell you what Peter uses it for;I don't want to be guilty of tormenting a cook!I leave the room when he wants a cup of tea...
ReplyDeleteLooks fantastic!
ReplyDeleteMakes such a difference to have everything so close and handy. I have a metal strip that holds my knives - love it.
Fantastic!
ReplyDeleteIf I had a kitchen that opened up to the garden I'd be in heaven.
ReplyDeleteCheck out Carson's 7msn post on making foamed milk in the microwave.
I am in love with your new spice storage solution - brilliant job, Marie!!! I would smile looking at that, also. I have my spices in their little jars in three wrought iron racks near the stove, and even that makes me smile - but your solution is far more visually appealing...now the wheels are turning in my head!! Congrats to you, excellent solution!!
ReplyDeleteMarie--you could just store things in the microwave. But you could also check out from the library Barbara Kafka's terrific Microwave Gourmet. You'll find, especially if you're jammed for oven or oven-top space, the microwave can help you handle a big dinner. Polenta, risotto--really are beautiful that way. Also, custards, puddings and you'll never melt chocolate a different way. No more double boilers. And, the microwave cooks fish beautifully and gently. Merry Christmas to you and yours!
ReplyDeleteLovely, I wish I room for one, but in my small kitchen all usable space it taken up with cupboards or appliances. Still there is that one small space...hmmm. To you and the Frenchman, Joyeux Noël and Vrolijk kerstfeest (not Afrikaners, but as close as I can get)
ReplyDeleteJoyeux Noël
We have the same rotten microwave...and use it to keep all kinds of things in!
ReplyDeleteCecile
Brilliant! Thank you for the tips!!!
ReplyDeletePoifict solution!!! And yes, I find dust-collecting microwaves equally mysterious.
ReplyDeleteI cook starchy things. Potatoes, white and sweet aren't waterlogged. Beets, Corn on the cob (with husk and strings), Rice, Quinoa..
ReplyDeleteAlso oranges for orange cake instead of boiling for an hour. Melt butter/chocolate. Popcorn (no oil) in plain brown bag. Quick "burrito" (tortilla,beans,cilantro,pepper,tomato,cheese) when it's too hot to use the stove let alone the oven.-Lynn
Beautiful spice rack! Impeccable construction and installation (30" of plank, oh my!)!
ReplyDeleteTo say that I was impressed with the design and build would be an understatement. This thing rocks and it is gorgeous! (well yes, that applies to the builder too ;-)
ReplyDeleteI love the spice rack you created. The size of the jars is so appealing- you are right, so many have those tiny jars that hold a few tablespoons that mean the rest of the spice must be stored elsewhere. But these are brilliant.
ReplyDeleteThis comment has been removed by a blog administrator.
ReplyDeleteThis comment has been removed by a blog administrator.
ReplyDelete